Magento is an ecommerce platform built on open source technology which provides online merchants with a flexible shopping cart system, as well as control over the look, content and functionality of their online store.
And also it is a high-performant, scalable solution with powerful out of the box functionality and a large community built around it that continues to add new features.
So Now, let’s get started! how to install Magento 2 on localhost.
Part 1: Install and configure XAMPP
Step 1: Download XAMPP
You can download the latest version XAMPP from Here.
Step 2: Install XAMPP
After downloading XAMPP, double-click on the file to install it on your computer.
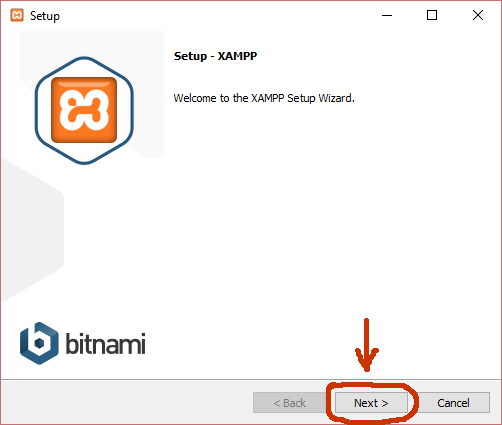
Click Next.
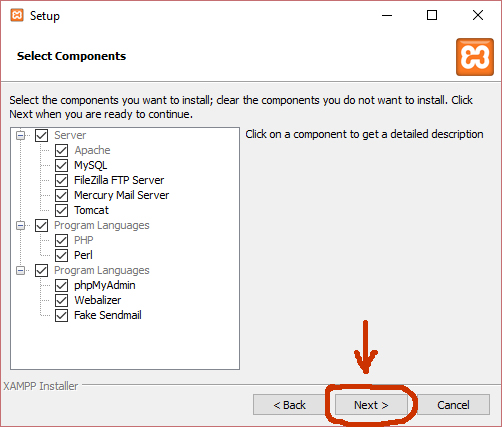
Leave the default selection as in the image. Click Next.
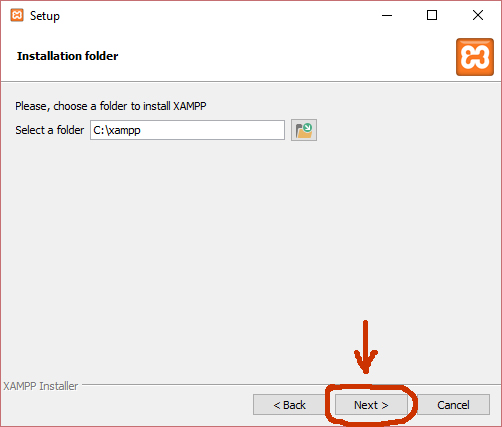
Choose your installation folder. The default location is C:\xampp. After that, click Next.
Click Next.
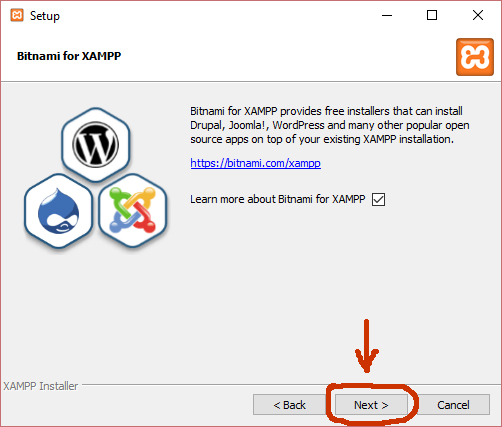
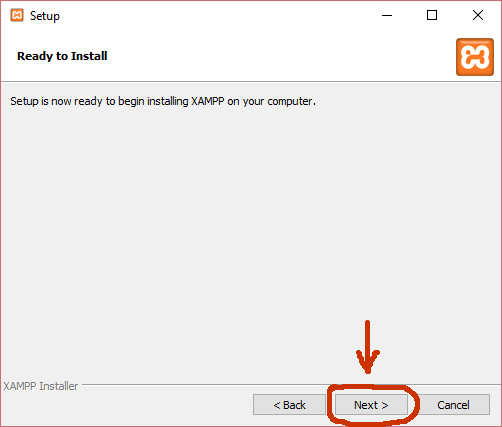
Click Next.
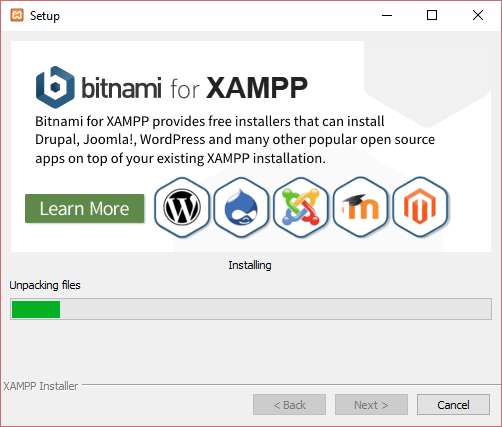
Setup will now install xampp on your computer. Please wait for a while.
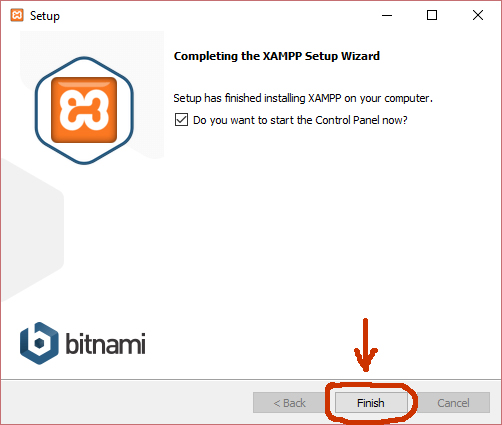
After setup is finished, you will see the option “Do you want to start the Control Panel now?”. Keep it selected. Click Finish to exit setup and enter XAMPP Control Panel.
Step 3: Configure XAMPP
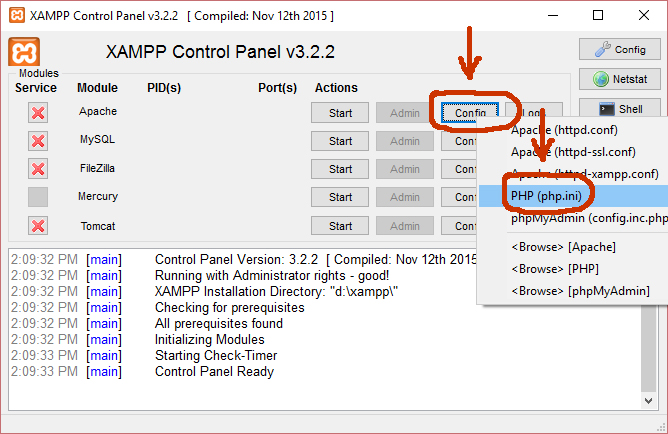
In XAMPP Control Panel, click Config button on Apache row, and click “PHP (php.ini)”.
In the php.ini file, find these rows and remove “;” before each row:
extension=php_curl.dll
extension=php_pdo_sqlite.dll
extension=php_pdo_mysql.dll
extension=php_soap.dll
After you’ve done, save and close the file. Then, click the Start button on 2 rows Apache and MySQL to start them. Don’t quit XAMPP after this step, just let it run.
Step 4: Configure host file
Open file “C:\Windows\System32\drivers\etc\hosts”. Add the following line to the last row of the file:
127.0.0.1 www.localhost.com
Part 2: Download and install Magento 2
Step 1: Download Magento 2 with sample data
You can download the latest Magento 2 from Here.
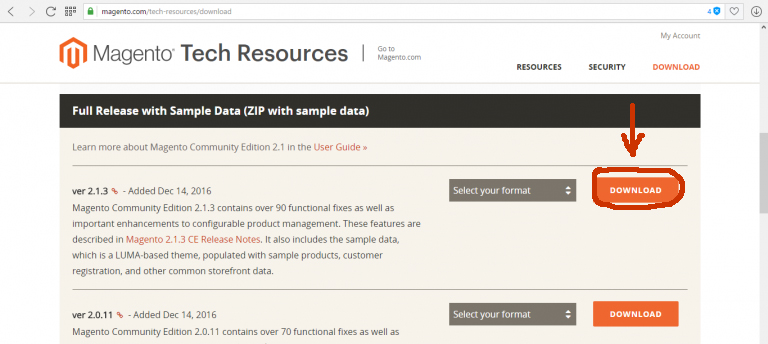
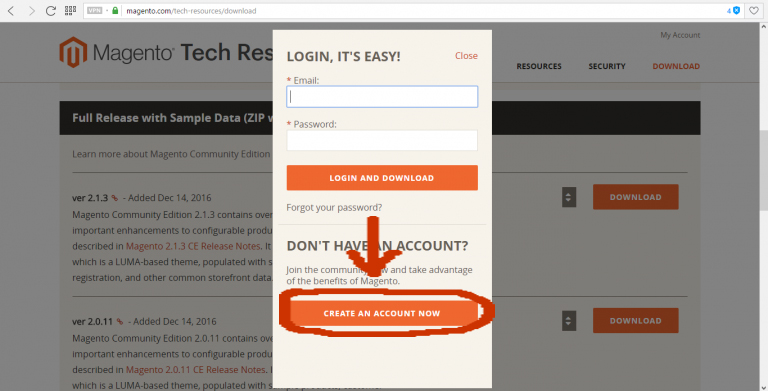
The archive file is available in 3 formats: .zip, .tar.gz, and .tar.bz2. They are all the same, you can choose any format you like. Then, click Download. If you are not logged in yet, there will be a popup requiring you to sign in to your account. If you don’t have an account, click on “Create an account now”.
After the download is complete, create a folder inside “xampp\htdocs” and extract the downloaded archive file into that folder. This will take some time.
Step 3: Create a new empty database for Magento 2
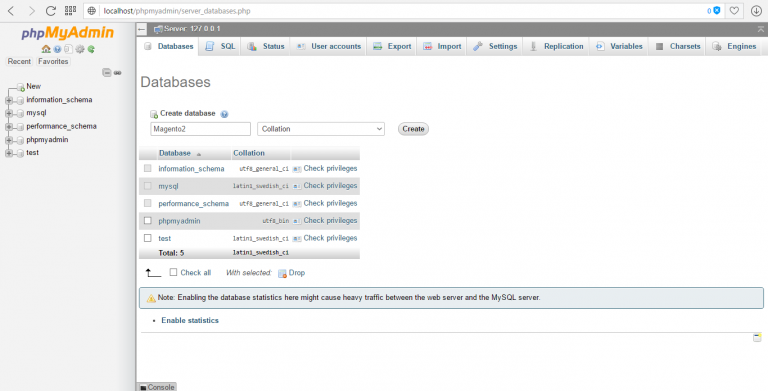
Browse the URL http://localhost/phpmyadmin/ to access phpMyAdmin page. Create a database name (“Magento2”, for example) and click Create.
Step 4: Install Magento 2
With XAMPP still open, in your browser, enter the URL http://localhost/your_database_name to start installing Magento 2. In previous step, I named my database as “Magento2” so I enter the URL “http://localhost/Magento2”.
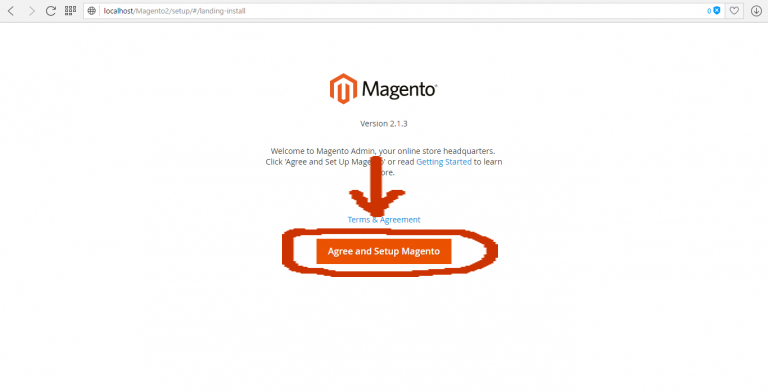
Click “Agree and Setup Magento“.
Click “Start Readiness Check“.
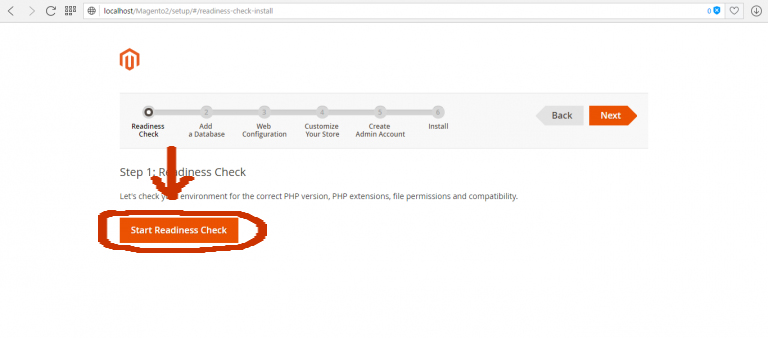
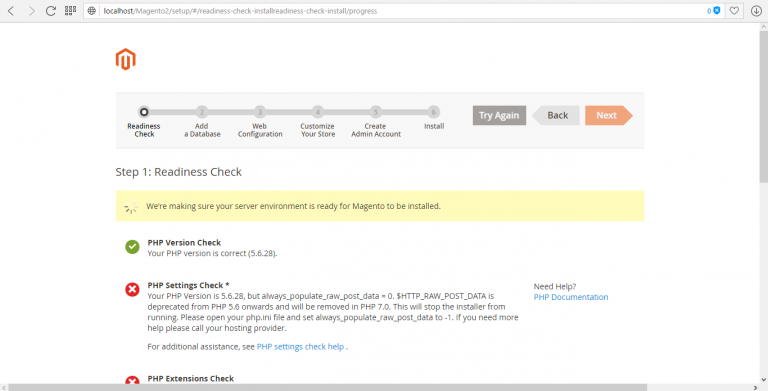
It will then check your server environment if it is ready to install Magento 2. If there are errors remaining (the red X), you will have to solve them first before you can proceed to the next step.
*Tips to solve PHP problems:
- PHP Settings Check: On XAMPP Control Panel, click “Config” on Apache row, then click “PHP (php.ini)” to open php.ini file. Find the line “always_populate_raw_post_data” and delete “;” at the start of the line.
- PHP Extensions Check: for any missing extension, find the string “php_extension-name.dll” and delete “;” at the start of that line. For example, according to the Check, I am missing XSL extension, so I look for “php_xsl.dll” in php.ini file and then delete “;” at the start of the line.
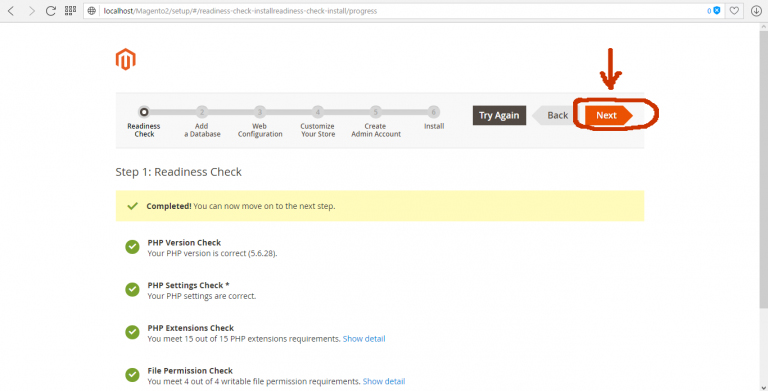
After you’ve solved all issues, save and close php.ini file and restart XAMPP. Then, click “Try Again” to refresh Magento 2 Installation page.
Click Next.
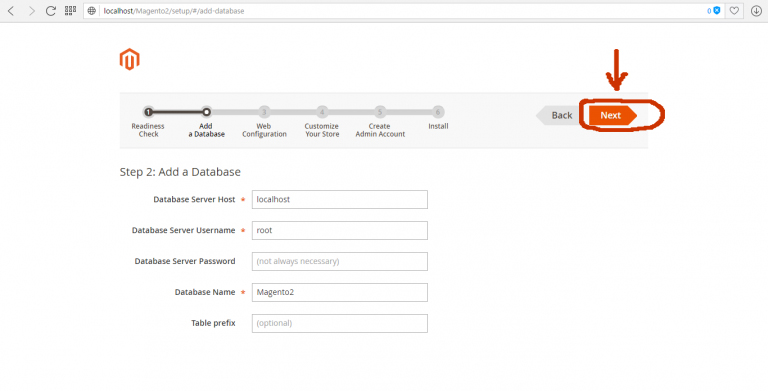
Add a database: Database Name is the name of the database you created in Step 3. You can leave other fields as default. Click Next.
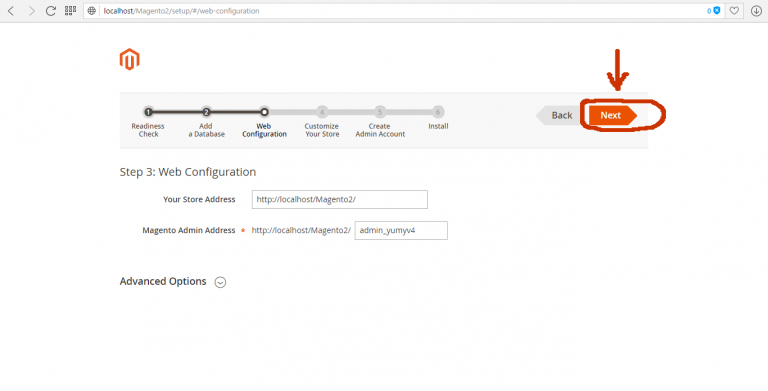
Enter the URL for your store address and Magento admin address. You can leave these by default or edit as you wish. Then, click Next.
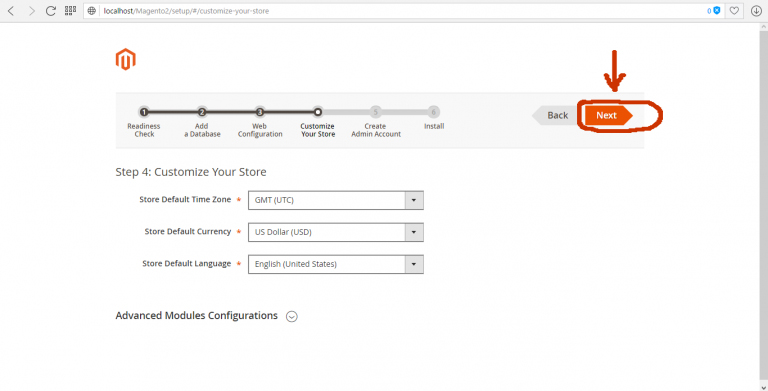
Edit your store’s time zone, default currency and default language. Click Next.
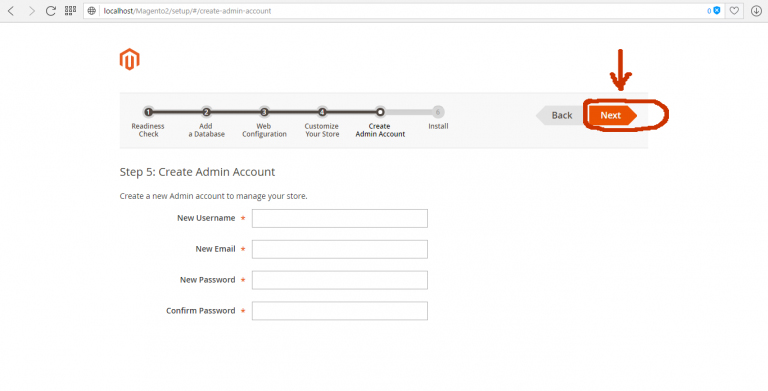
Create an admin account. This will be the account that you use to log into your Magento backend. After you’ve filled in all the fields, click Next.
Finally, click Install Now.
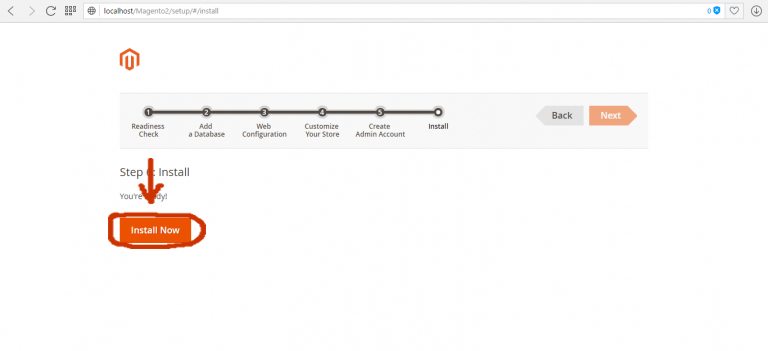
The installation will take a while.
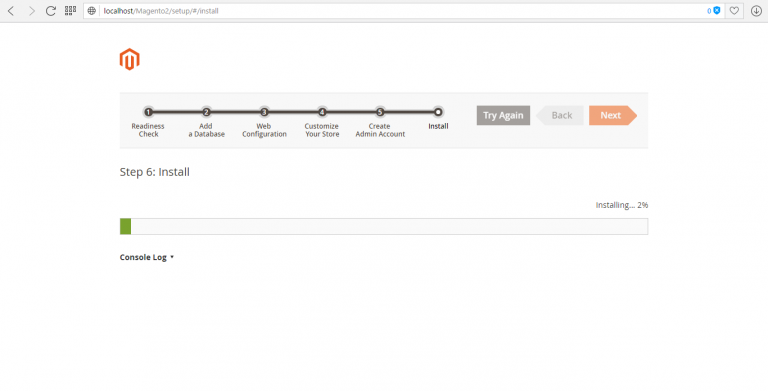
That’s it! You have finished installing Magento 2 on your localhost. Now you can access your Magento 2 frontend/backend and start exploring Magento 2 features. I hope you find this post helpful 🙂
Leave a Reply