Getting Started With Install Laravel Basic Concepts & Installation on Localhost.
What is Laravel?
Laravel is a popular open-source PHP web framework used for developing web applications following the model-view-controller (MVC) architectural pattern. It provides a robust set of tools and an expressive syntax that aims to simplify and speed up the development process. Laravel includes features such as routing, authentication, database migration and seeding, templating with Blade, and a powerful ORM (Object-Relational Mapping) called Eloquent for working with databases. It’s known for its elegant syntax, developer-friendly approach, and extensive ecosystem that includes various libraries and packages to extend its functionality.
# For Install Laravel Basic Requirements
Since we want to work with the latest version of Laravel, let us first have a look at the basic requirements:
- PHP >= 7.1.3
- OpenSSL PHP Extension
- PDO PHP Extension
- Mbstring PHP Extension
- Tokenizer PHP Extension
- XML PHP Extension
- Ctype PHP Extension
- JSON PHP Extension
# Install Xampp
First of all, we need Xampp, so we can Download it from Here the official site.

# Composer
Composer is a PHP package manager that is integrated with Laravel Framework.
After you’ve downloaded and installed Xampp, now we need to install Composer.
Laravel needs the Composer program to manage its extensions. If you do not have this program, you can Download it from Here the official site.
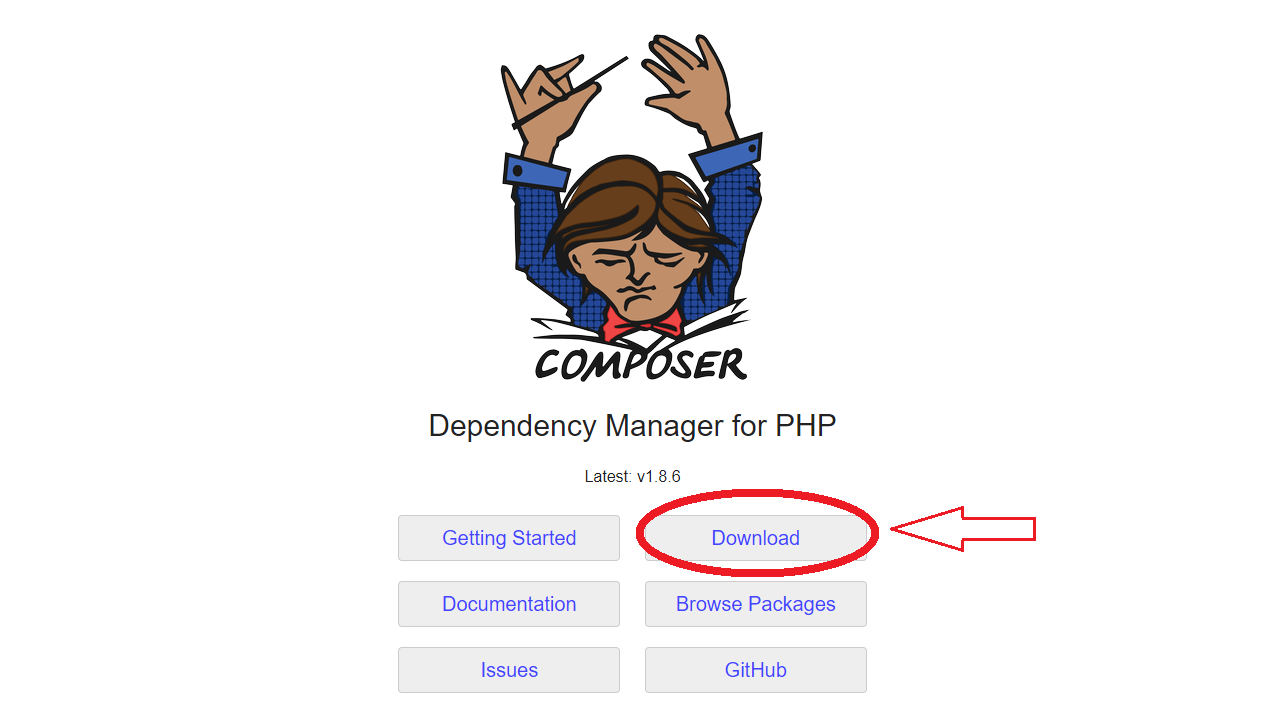
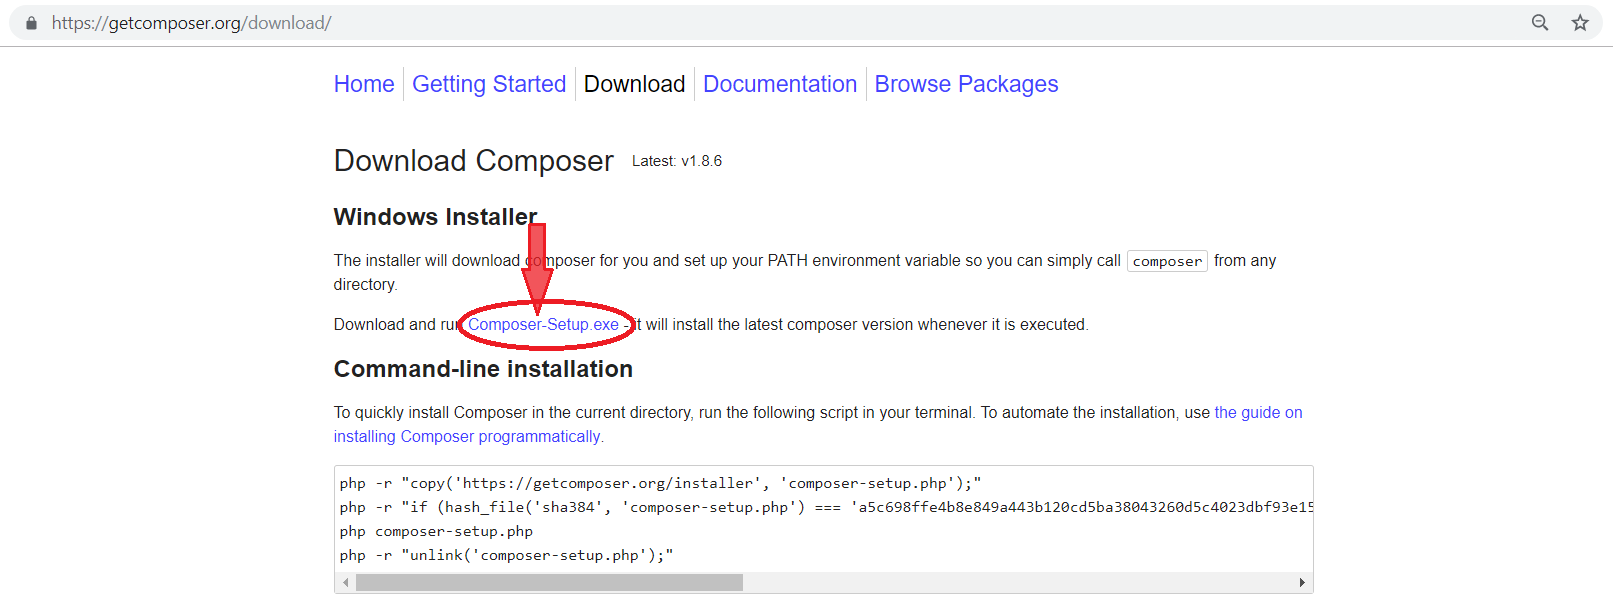
After downloading Composer.exe, run it, in the installation process, if you are prompted for the php.exe path, its address in your system is xampp/php by default.
If the composer is installed correctly, you’ll see below picture by entering composer command in cmd.
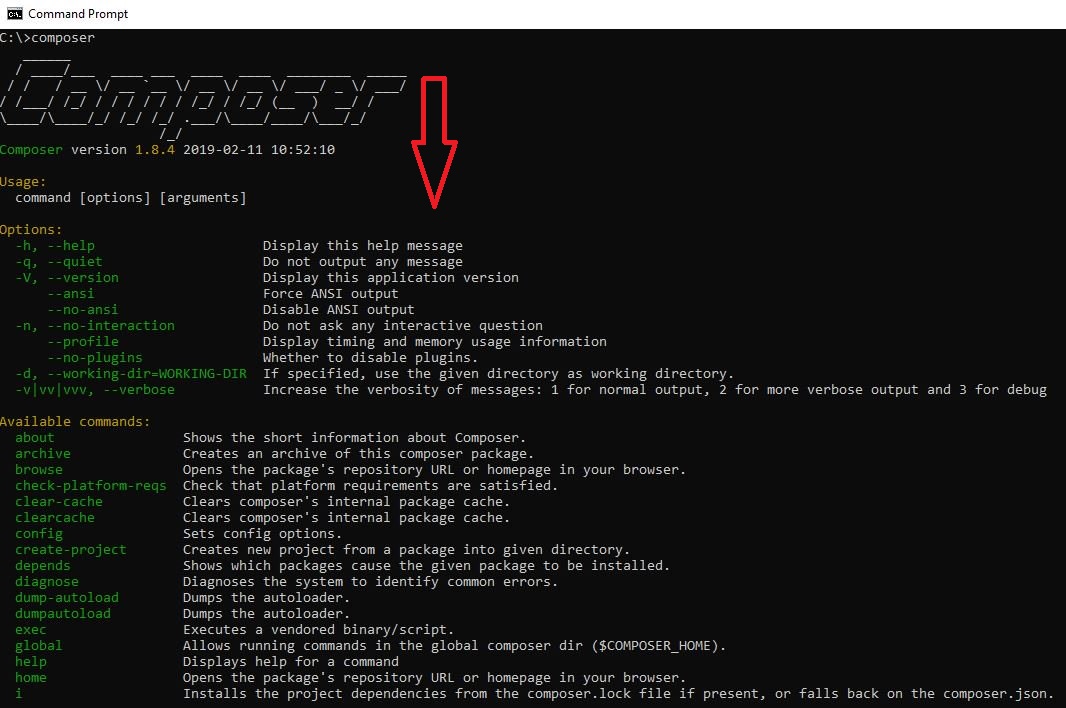
Now to install Laravel on the localhost
type below command in cmd:
C:\>cd xampp
C:\xampp>cd htdocs
C:\xampp\htdocs>
Now in the corresponding path, enter the following command to create a new Laravel project:
Composer create-project –prefer-dist laravel/laravel new_project
Now, Laravel is being installed on your system. After installation, go to the new_project folder and execute the php artisan serve command.
C:\xampp\htdocs>Cd new_project
C:\xampp\htdocs\new_project>php artisan serve
A new message will be displayed on the server and your work on cmd will be completed.
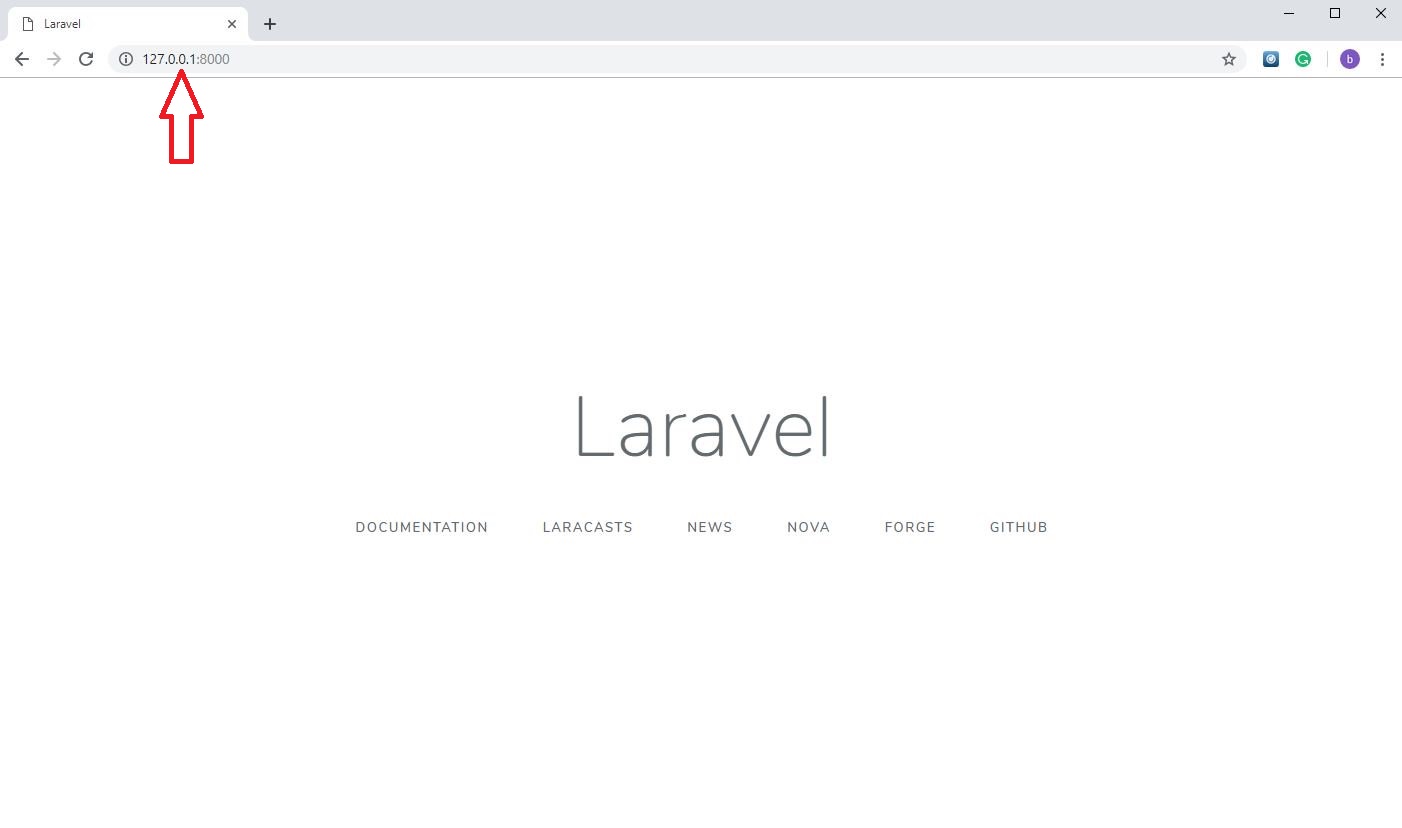
Just open your browser and enter one of the addresses below.
http://127.0.0.1:8000
http://localhost/new_project/public
At this moment, your new Laravel project will be successfully installed and run.
“Comparing CodeIgniter vs Laravel: Choosing the Right PHP Framework for Your Project”
Leave a Reply